3D Layered Flower Paper, Laser Cutting: Elevating Your Crafts with Precision
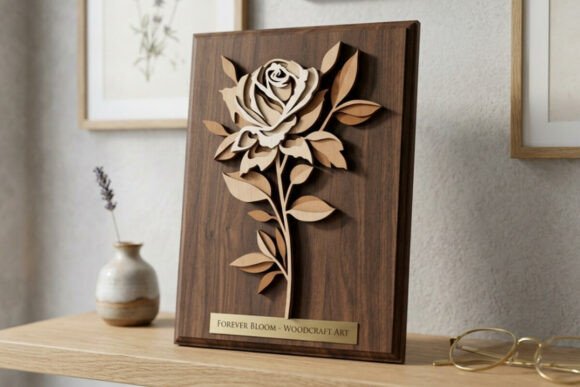
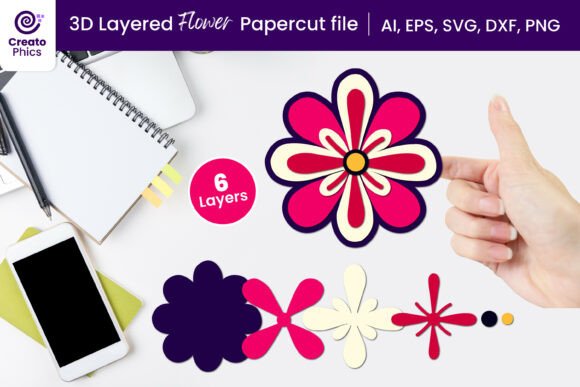
There is a distinct difference between a flat image and an object that invites touch. When you work with 3D layered flower paper, laser cutting, you are moving beyond simple decoration to create tactile art that captures light, shadow, and depth. This technique involves stacking individual cut layers of paper or cardstock to form a dimensional bloom, adding a sophisticated elegance that standard printing simply cannot replicate. Whether you are designing intricate greeting cards, creating statement wall art, or developing unique scrapbook layouts, this approach transforms flat materials into dynamic focal points.
However, achieving a professional finish requires more than just hitting the print button. Many creators stumble when transitioning from digital files to physical objects, often overlooking critical details about file compatibility, layer alignment, and material selection. Understanding these nuances ensures your final product looks as polished as the digital preview. By focusing on precision and preparation, you can avoid common pitfalls that lead to wasted materials and frustrated designs.
Choosing the Right File Format for Your Project
One of the most frequent errors beginners make is assuming all digital files work the same way across different machines. The 3D layered flower paper, laser cutting process relies heavily on vector data, yet many users attempt to use raster images (like low-resolution PNGs) for cutting operations. While PNG files are excellent for visualizing the design or printing as a guide, they lack the mathematical coordinates required by laser cutters and electronic plotters like Cricut or Silhouette.
If you are using a laser cutter, you need precise vector paths to ensure the blade follows the exact perimeter of each petal without deviation. Conversely, if you are hand-cutting, you might prefer a high-quality PDF or SVG that allows you to scale the image without losing clarity. A professional workflow typically includes multiple formats to accommodate different tools. For instance, having both EPS and AI files ensures compatibility with Adobe Illustrator for professional adjustments, while DXF files are essential for specific laser cutting software environments. Always verify which format your machine requires before starting your project to prevent costly reprints or failed cuts.
The Critical Importance of Layer Separation
The magic of 3D papercutting lies in the separation of elements. A common mistake is treating the entire flower as a single unit rather than a collection of independent components. If the layers are not perfectly separated in the design file, assembling the 3D structure becomes nearly impossible, leading to misaligned petals and a collapsed final shape.
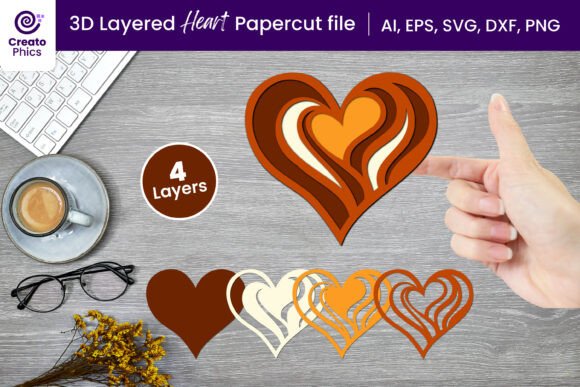
When evaluating a digital download, check that each layer is provided as a distinct entity. In our design, every layer is a separate PNG file at 300 DPI, ensuring crisp edges for tracing or cutting. Furthermore, the inclusion of SVG and DXF formats guarantees that the layers remain editable and scalable. Without this separation, you risk spending hours trying to manually isolate parts that should have been ready to assemble immediately. Proper layering also allows you to experiment with spacing; adding small spacers between layers can enhance the 3D effect, making the flower appear to float off the page.
Material Selection and Dimensional Integrity
p>Even with perfect files, the choice of paper determines the structural integrity of your 3D layered flower paper, laser cutting project. Using paper that is too thin may result in fragile petals that tear easily during assembly, while paper that is too thick can be difficult to stack neatly, causing the flower to bulge unevenly. For most 3D applications, medium-weight cardstock between 160gsm and 240gsm offers the best balance of flexibility and support.Another overlooked detail is the grain direction of the paper. If you are cutting intricate shapes, aligning the paper grain correctly prevents warping over time. Additionally, consider the color consistency across layers. Since each layer represents a different part of the flower, slight variations in shade can create a muddy appearance rather than a vibrant one. It is advisable to test your color palette on a small scrap piece before committing to the full build. This step ensures that the contrast between layers highlights the depth you intend to achieve.
Assembly Techniques for Flawless Results
Once your layers are cut, the assembly phase is where many projects go awry. Rushing this step often leads to glued-down mistakes that ruin the entire piece. A better approach is to dry-fit your layers first. Arrange the petals on a flat surface to visualize the final composition without any adhesive. This allows you to adjust the order of layers and ensure the symmetry of the bloom.
When applying glue, precision is key. Use a fine-tip applicator or a dot of tacky glue only on the center of each layer. Avoid spreading glue too far toward the edges, as it can seep out and stain the visible surfaces of the petals. Start from the bottom layer and work your way up, pressing gently to secure the bond without crushing the delicate structure. Taking your time here pays dividends in the final presentation, resulting in a clean, professional look that stands out in any craft room.
Maximizing Versatility Across Creative Projects
The true value of a well-designed digital file lies in its versatility. A single 3D layered flower paper, laser cutting set can serve numerous purposes, from personalized gifts to commercial products. For entrepreneurs, these files offer a low-overhead way to create high-value items like wedding invitations or boutique packaging. For hobbyists, they provide a satisfying challenge that results in stunning home decor.
Because the design is available in standard sizes like 12 in x 12 in, it fits seamlessly into popular crafting mats and frame sizes. The EPS and AI formats allow you to resize the flower to fit specific dimensions without distorting the proportions, making it easy to adapt the design for everything from business cards to large-scale wall murals. This adaptability ensures that your investment in the file provides long-term utility across various creative endeavors.
Final Considerations Before You Begin
Before diving into your next project, take a moment to review the file contents. Ensure you have the necessary software to open the provided formats, such as Adobe Illustrator for AI/EPS files or a compatible viewer for SVG/DXF. Check the resolution of the PNG files to confirm they meet your printing needs. Finally, remember that the quality of the output depends on the care you take during the cutting and assembly phases.
By avoiding common mistakes related to file formats, layer management, and material choices, you can consistently produce beautiful, dimensional art. This attention to detail not only enhances the aesthetic appeal of your work but also streamlines your creative process, allowing you to focus on innovation rather than troubleshooting. Whether you are a seasoned pro or just starting out, embracing these best practices will help you unlock the full potential of 3D layered flower paper, laser cutting and bring your floral visions to life with grace and precision.